Skip ahead to:
Messaging your members
The message centre allows you to send messages to specific contacts, all members of your organisation, or specific groups within your organisation.
To send a message click on Messages in your organisation admin tools.

From here you can either build a new email using the 'Send Email' link or you can reuse a previous email by select 'Reuse text' in the Sent Items table.
Composing a message
From the send email screen you can compose your email, edit the to and from settings, add attachments and enable tracking.
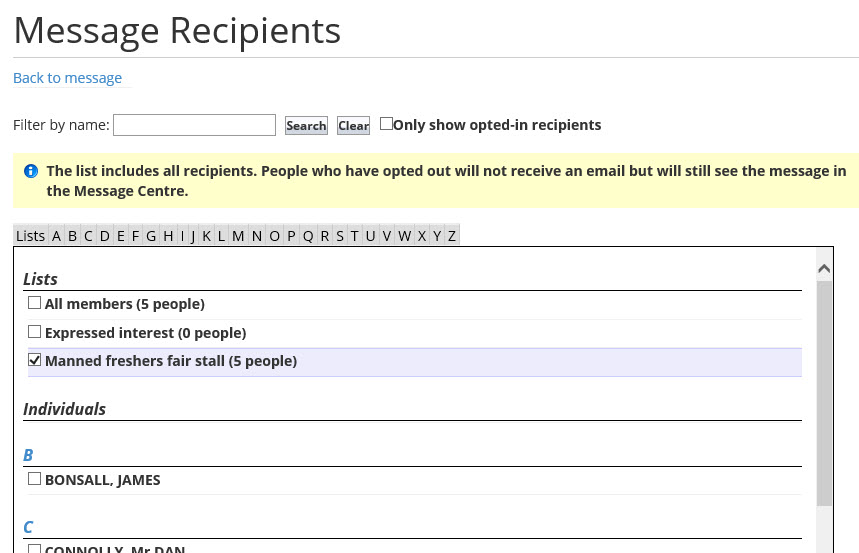
To add recipients, click 'Add Recipients', this will bring up available mailing lists (or individuals) in this organisation.

The number in brackets next to a list indicates the number of messages that will be sent. Tick the checkbox next to the mailing list(s) or individuals you would like the message to send to and click 'Add Recipients'. There is a search box to help you find individual members.
Your message will send to whichever email address your members have chosen to receive your messages. They can change this at any time through the contact options page in 'contact details' in the 'Account' panel. Even if they have chosen not to receive email communication from your organisation, the message will still go to their website inbox but not to their chosen contact email address. To make it easier for users to change how you contact them, you might want to use the 'contact details' widget on your pages.
A few notes:
- The From and Reply To addresses available will be your personal addresses stored in the system and the addresses linked to the organisation.
- If you need to add or edit personal addresses you can do this at /contactdetails/ or through People
- If you need to add or edit organisation addresses you can do this through Organisation Admin Tools > Edit Details or through Groups.
- You'll be able to send the email to any member of the organisation, either as an individual or by selecting from the mailing lists and dynamic lists that belong to that organisation
- Estimated deliveries indicates how many of the recipients have email addresses AND have opted in to email contact
Populating your message
Template
When the send message page displays the template picker it will list the pages beneath /emailtemplates/ that you have permission to edit. Select one from the drop down and click 'Apply template' if you want to build an email layout with defined areas that can be edited by the sender. For more information about creating email templates, take a look at our Email Templates support page.
Content
Using the 'WYSIWYG' editor, content added here can contain text, images, video etc.
Sending your message
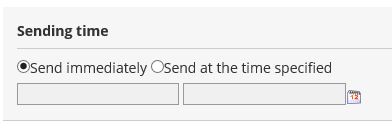
Once you're happy with your message you can choose to send it, save it or schedule it.

Send now
This sends the message immediately; if there are a large number of recipients the system may prompt you to try again.
Save for later
This saves your message as a draft, only you can see and send your draft. You will not be able to draft a new message for this organisation without clearing your current one and to revisit your draft you just need to return to the original Send Email link in Messaging Admin.
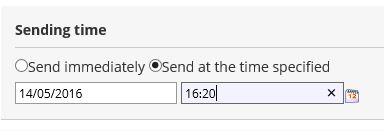
Schedule
It's possible to schedule your message for a specific time and date, if you can't see this option on the page get in touch with your site administrator to request we enable it for your organisation.
To view a video showing you how to send a message through message centre, take a look at the below video tutorial:
Create a new group
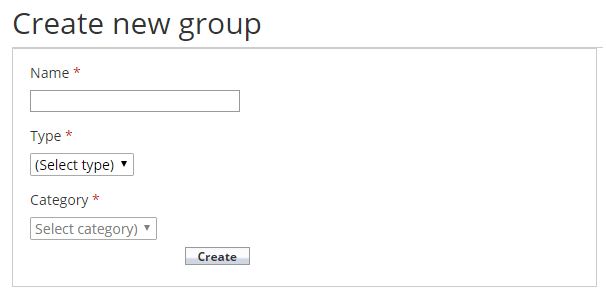
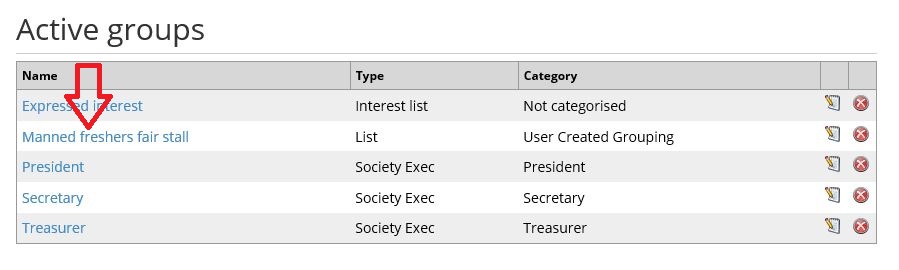
If you want to send a message to a set group of people (i.e. not everyone in your membership group) navigate to your organisation admin tools and click 'Edit groups'. You will see a list of all existing groupings within your organisation.
To add a new grouping to this list scroll down to 'Create new group', type in your new grouping's name, select the type and category of your new grouping and click 'Create'.
Add members to your group
Now you have created your group, to add members to the group you will need to click on the name of the group within the 'Active groups' area
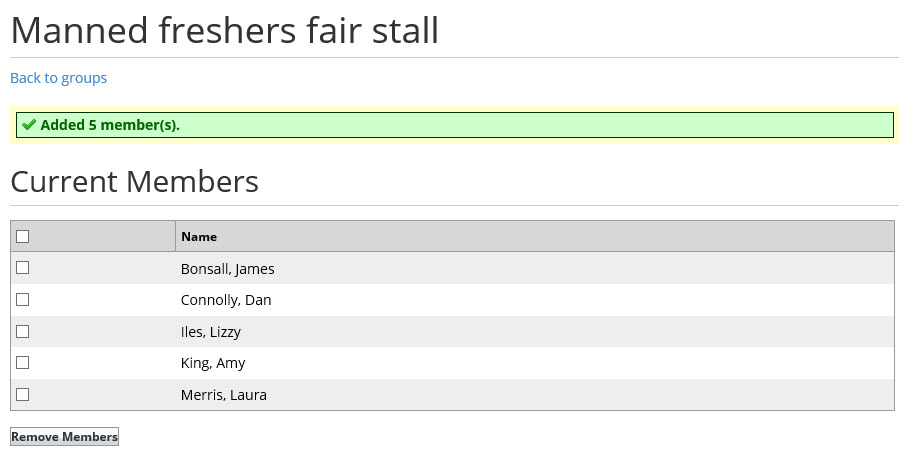
Clicking the name of the group will show you all current and potential members for that list. Build up your group by selecting individuals from the potential members list and adding them as current members. For large lists it is often easier to select all potential members (click the checkbox in the potential members table header), and then uncheck the people you want to exclude.

Click 'Add Members', the potential members you selected will now be current members of the group.
If you want to give members the choice of receiving a communication, you can create an online signup where people can opt in or out of a mailing list. Firstly you will need to create a sign-up, for more information about how to do this take a look at our Signups support page. When you do this a signup list is automatically created. This list will get populated with the addresses of people who sign up. Similarly, if someone cancels their sign up, they will be deleted from this list. In this way the signup acts as an opt in / out for your list.
Back to top